Localization
Gameface simplifies the process of implementing localization into your game, allowing you to dynamically translate the content of an HTML page with different text based on user preferences, language, and regional variants. To integrate this functionality into your UI, you’ll need to implement the ILocalizationManager interface from the C# side. Below you can find the main steps on how to achieve this.
You can check the Localization sample included in your Gameface plugin for the Unity3D package.
Implementation
Preparing the HTML page
The first step is to create your HTML page and add the data-l10n-id attribute to the elements that should have localization. Gameface will automatically translate the elements tagged with data-l10n-id attribute:
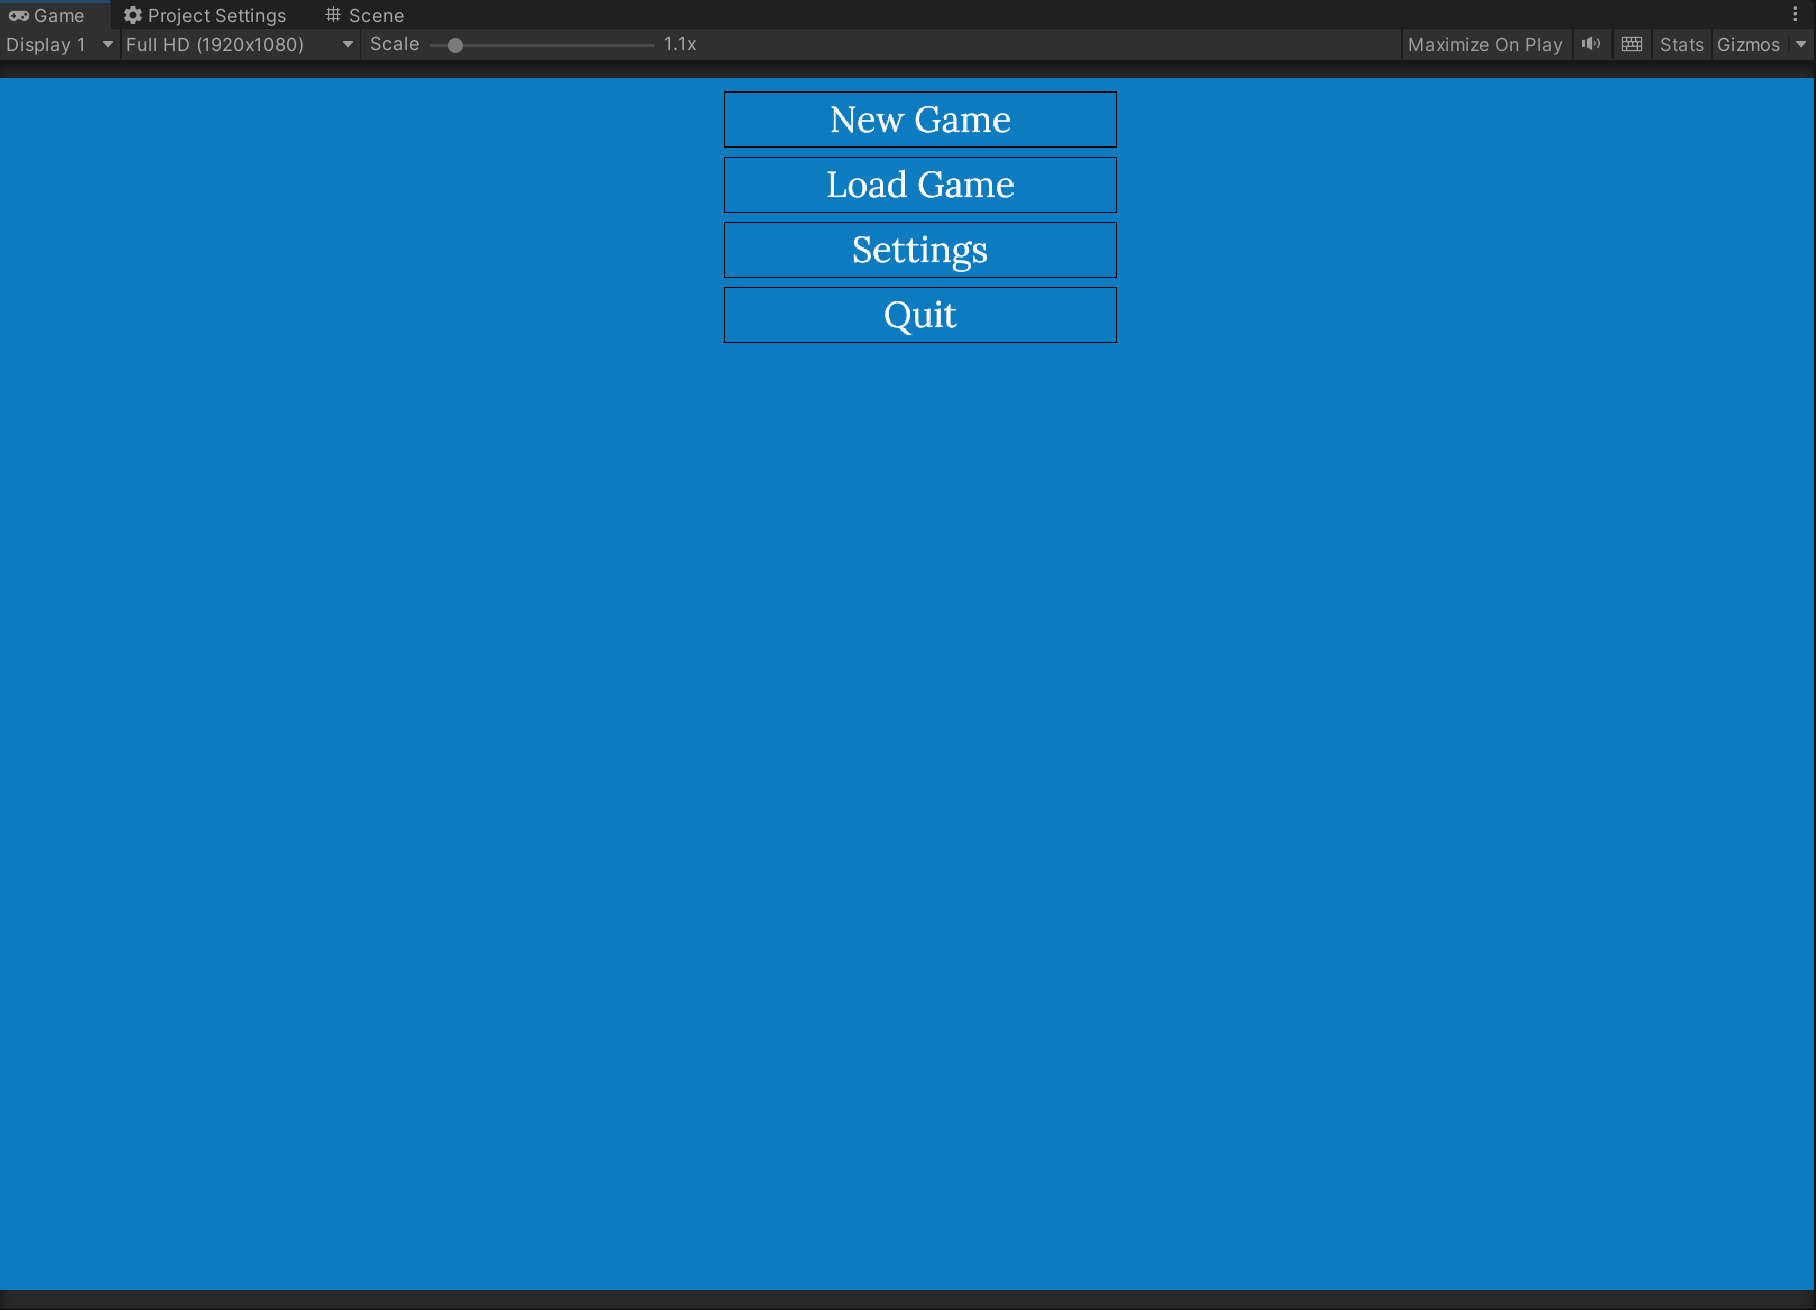
<button class="menuButton" data-l10n-id="New Game">New Game</button>
<button class="menuButton" data-l10n-id="Load Game">Load Game</button>
<button class="menuButton" data-l10n-id="Settings">Settings</button>
<button class="menuButton" data-l10n-id="Quit">Settings</button>
Creating data sheets for the localized text in the UI
Next, you can decide how to store the keys and the different localizations for the HTML elements (i.e., collections in the C# code, CSV files, etc.). For example, you can store the information in predefined collections with the translations and obtain needed data from there once a request for a translation is received. For example:
private Dictionary<string, string> germanLanguageTranslations;

germanLanguageTranslations = new Dictionary<string, string>
{
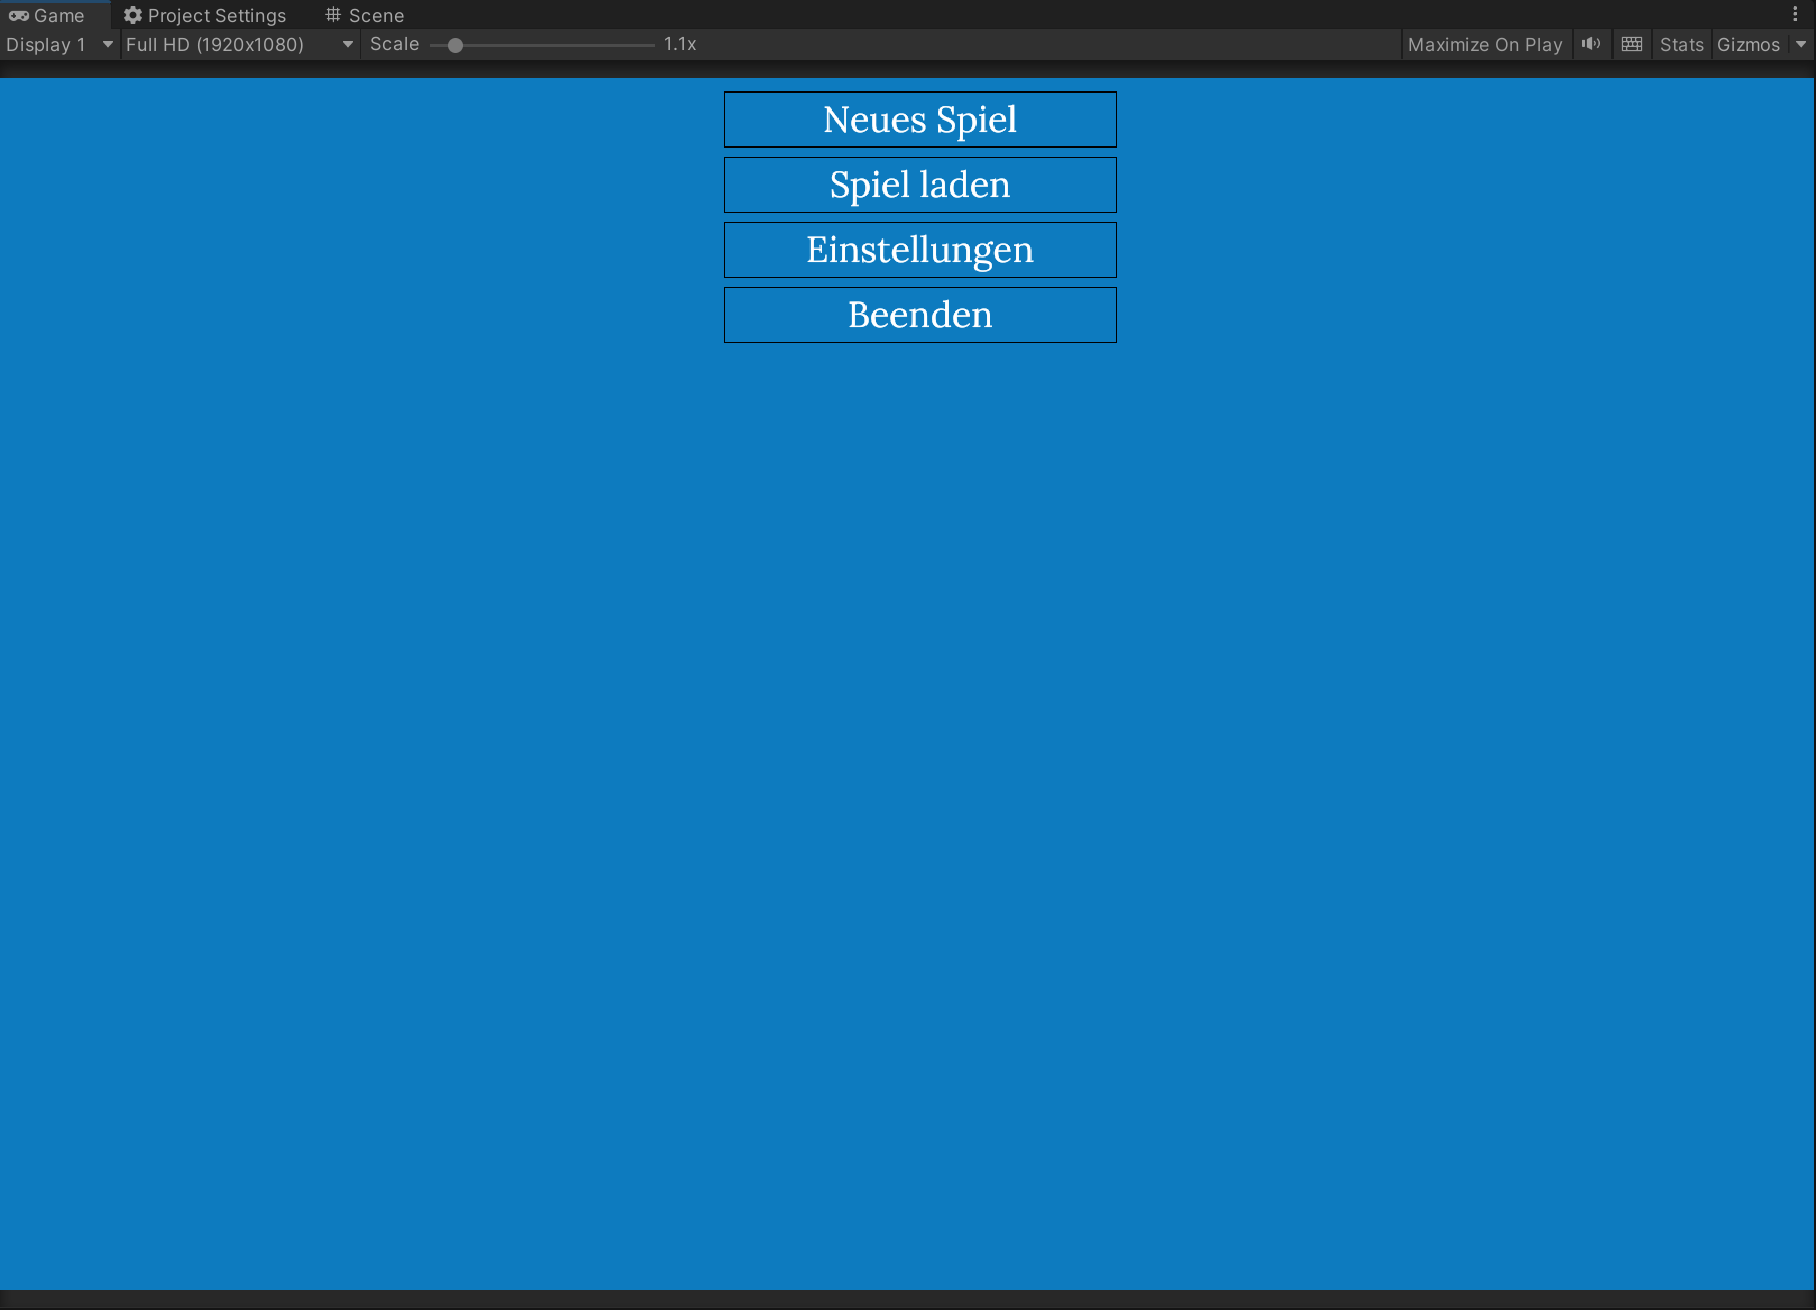
    {"New Game", "Neues Spiel"},
    {"Load Game", "Spiel laden"},
    {"Settings", "Einstellungen"},
    {"Quit", "Beenden"}
};
Implementation of the Localization interface
Now, we can create a custom class that inherits the ILocalizationManager interface and overrides the Translate method which will take care of translating the HTML elements in the UI. This method receives the key parameter (e.g. the value of the data-l10n-id attribute of your element in the HTML) as the string that should be localized and a data parameter that will be used to set the translated value.
As an example, we will also implement the GetTranslation method to help us retrieve the localization data and use it within the Translate method to set the translated text:
public class MyLocalizationInterface : cohtml.Net.ILocalizationManager
{
    public string GetTranslation(string key, string language)
    {
        // Choose the appropriate dictionary based on the language of the game
        Dictionary<string, string> translations = language.ToLower() == "german" ? germanLanguageTranslations : englishLanguageTranslations;

        // Retrieve the translation for the given key
        if (translations.TryGetValue(key, out string translation))
        {
            return translation;
        }

        // If the key is not found, return empty string
        return string.Empty;
    }

    public override void Translate(string key, TranslationData data)
    {
        // Here the "key" attribute will be the "data-l10n-id" defined in the HTML page
        string translatedText = GetTranslation(key, "german");

        // Set the new localized text on the "TranslationData" object
        data.Set(translatedText)
    }
}
Creating and linking the required Gameface components
These components will be used to forward your custom localization interface to the native SDK:
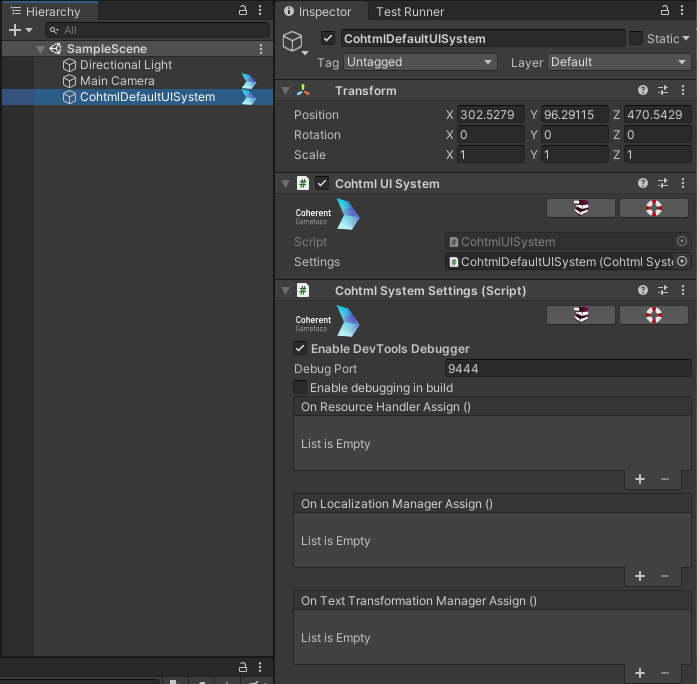
- Create an empty game object and name it
CohtmlDefaultUISystem. - Add a
Cohtml UI Systemcomponent to the game object. - Add a
Cohtml System Settingscomponent to the same object and assign it to theSettingsproperty of theCohtml UI Systemcomponent viadrag and drop.

- Once you’ve set up the necessary components, you can create a custom script (or use an existing one) and implement the following public method which will assign your custom Localization interface to the
CohtmlSystemSettingsyou provide as a parameter.
public class LocalizationHelper : MonoBehaviour
{
    public void AssignLocalization(CohtmlSystemSettings settings)
    {
        if (settings != null)
        {
            settings.LocalizationManager = new MyLocalizationInterface();
        }
    }
}
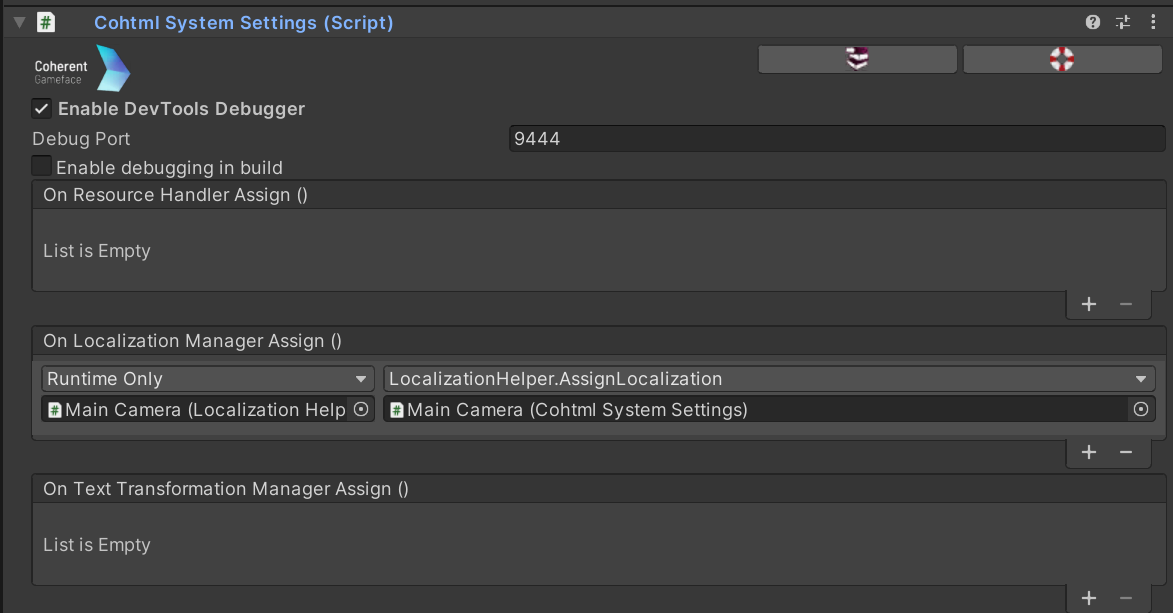
- Now that you’ve prepared everything so far, you can attach the game object holding the
LocalizationHelperscript to theOn Localization Manager AssignUnity Event. Once attached, select theAssignLocalizationmethod via the editor anddrag and droptheCohtml System Settingscomponent:

Updating the localization data
Upon the initial loading of the HTML page, the localization will automatically be triggered. In other words, the Translate method of the localization interface will be called for each of the elements on the page which have the data-l10n-id attribute.
To force the localization of a specific element in the UI, you can invoke the engine.translate() method with the specific key from the JavaScript code or invoke engine.reloadLocalization() to translate all elements. Keep in mind that all dynamically-created elements with the data-l10n-id attribute will be automatically translated.

