Live Views
On this page
Overview
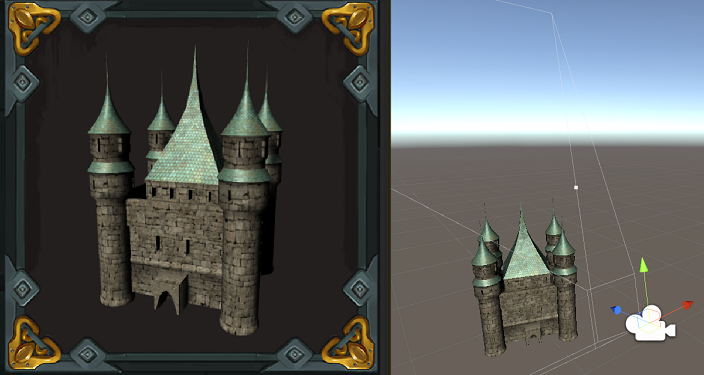
The Live Views feature gives you a way to render a dynamically-changing texture from the engine inside your UI. This allows you to capture live scenes from your engine, such as moving character models or low-resolution views of the map and show them inside your UI, resulting in easy-to-do character customization screens, minimaps, or other difficult to achieve menu components. This is most commonly implemented by dynamically populating a texture with the feed from a camera placed in the game world and configuring your HTML page to display the contents of the texture.

How To Use
Add a second camera to the scene.
Add a
CohtmlLiveViewcomponent on the second camera GameObject.Now set up the
CohtmlLiveViewcomponent.- Fill in the identifier you want to use for your texture inside the
Namefield. For this example, we will call itMyLiveView. - Adjust the width and height if required.
- (Optional) Create a
RenderTextureand attach it to theTextureTargetproperty.
- Fill in the identifier you want to use for your texture inside the
Create an HTML document. For this example, we will call it
liveView.html. Add a reference to the texture inside your UI.<img src="coui://MyLiveView">Go to a
CohtmlViewand fill the URL field with theLiveView.htmlpath.
Tips and best practices
You can check the Live Views sample included in your Gameface plugin for the Unity3D package.
If the CohtmlLiveView’s Target Camera field is empty when playing the scene, Gameface will search the camera component on the attached GameObject.
You can change CohtmlLiveView’s Target Camera renderer during Play mode. It will reuse the same render texture.
You can use an existing RenderTexture asset by assigning it to the Target Texture field of your CohtmlLiveView.
Use CohtmlLiveView’s Width and Height fields to resize the render texture. These two fields don’t work on Play mode.
After the CohtmlLiveView render texture is registered inside the Gameface resource handler you cannot change it or recreate it.