

Chat Sample
This sample is a small project that shows how to create an XMPP chat client. It uses ejabberd for the server and xmpp.js with WebSockets for the client.
Prerequisites
Section titled “Prerequisites”To run the sample you’ll need:
- First we need to install Docker Desktop. Download the Windows installer and follow the steps to install it.
- Then we need to setup the xmpp server. The ejabberd server uses Docker to run on Windows. The documentation provides a step by step guide on how to setup it. It uses a
.batscript which sets up the volumes and ports. Download the script from here and follow the instructions on the documentation page to complete the setup. - Before staring the xmpp chat we need to configure it to use WebSockets. Go to the
config/folder inside the installation directory of ejabberd (something similar toC:\ejabberd\conf) and open theejabberd.ymlfile. Find theport: 5443configuration and add/xmpp: ejabberd_http_ws. The full config should look like this:
port: 5443 ip: "::" module: ejabberd_http tls: false request_handlers: "/admin": ejabberd_web_admin "/api": mod_http_api "/bosh": mod_bosh "/captcha": ejabberd_captcha "/upload": mod_http_upload /xmpp: ejabberd_http_ws "/oauth": ejabberd_oauthFor more information refer to the [official ejabberd documentation](https://docs.ejabberd.im/admin/configuration/listen/).-
After you’ve successfully configured the ejabberd server, open the Docker Desktop application and start the container:

Once the container is running navigate to the Prysm package folder/Samples/uiresources/XMPPChat, open a console and run
npm ito install the client dependencies. After that runhttp-serverin the console This will spawn an http-server that will serve the local files onlocalhost:<port>. Open the Prysm Player.bat file and config the--urloption to load the page that the server is hosting. You’ll see a login page: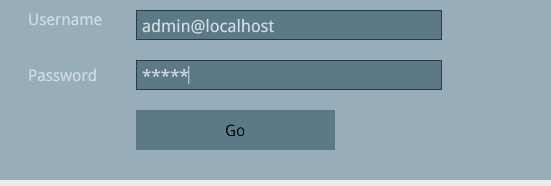
In order to login you’ll need to create an account. The easiest way to do this is via the web admin panel of the ejabberd server. Open a web browser and navigate to
http://localhost:5443/admin/The port may vary, check with theejabberd.ymlfile, the port on which the web admin is served is should have a handler for"/admin": ejabberd_web_admin. Make sure to settls: falseif you’ll access the admin throughhttpinstead ofhttps.Enter your credentials once you access the server administration. These are the USER and PASSWORD that you changed in the bat file that sets up the Docker container. If you didn’t change them the defaults are
adminfor username and an empty string for password. After that selectVirtual Hostslocated on the menu on the left and choose localhost from the table:
Select
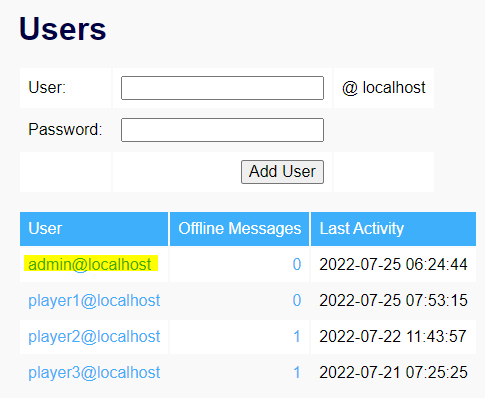
Usersand fill the form to create a new user.
-
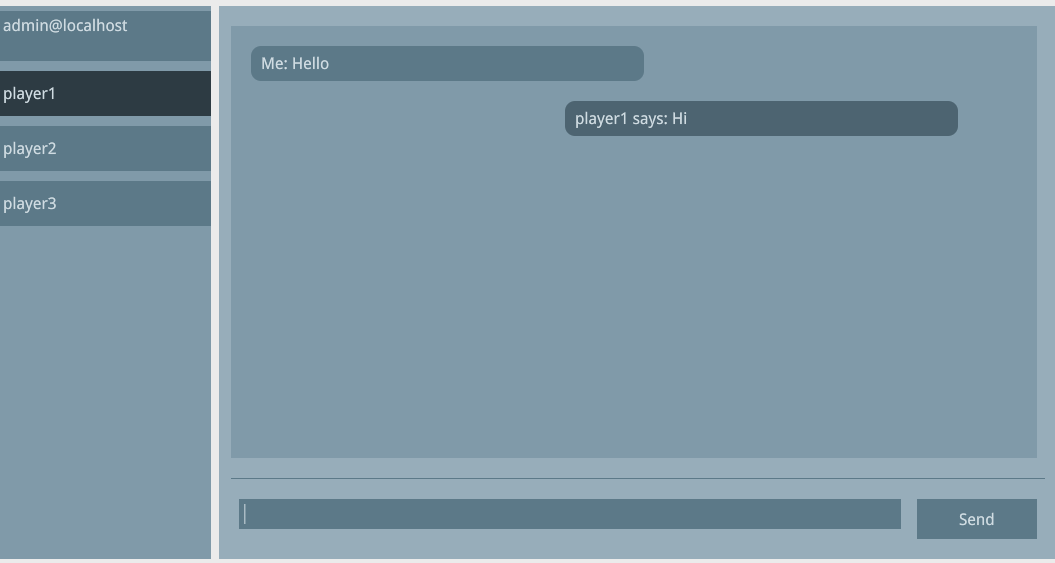
Go back to the Prysm player and login with the new user that you just created. You’ll see the main chat window:
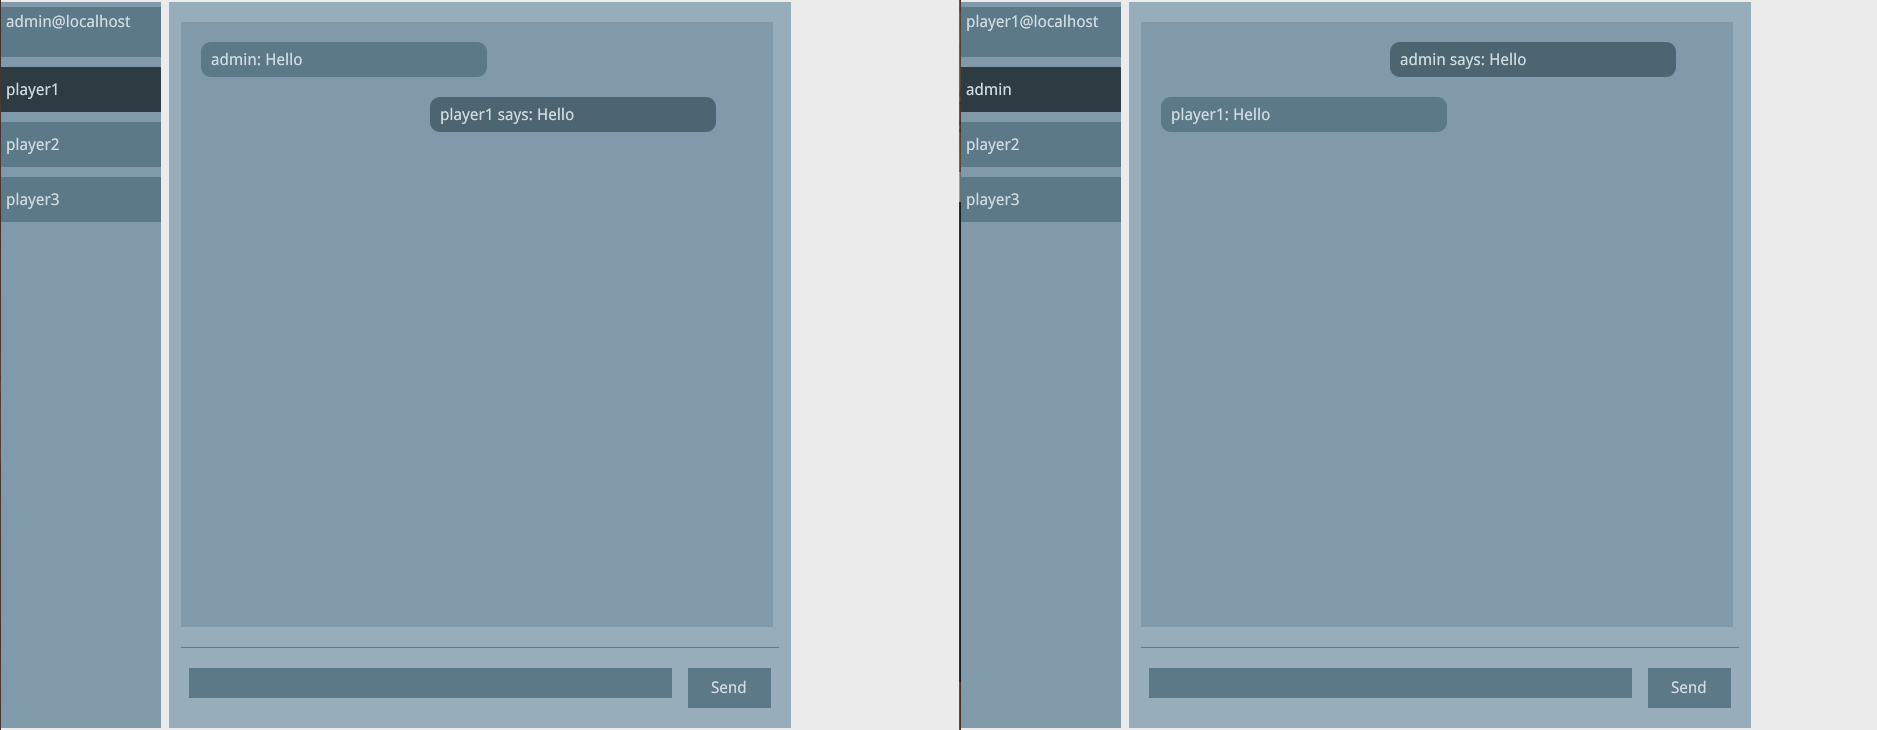
You can spawn two instances of the player and login with different accounts in order to exchange messages:
File structure Overview
Section titled “File structure Overview”File structure
Section titled “File structure”XMPPChat:
btoa.js- a polyfill for the btoa() method that creates a Base64-encoded ASCII string from a binary stringindex.html- the main HTML filelogin.js- the login page handlerpackage.json- the npm config filestyle.cssui.js- the user interface handler; manages interactions and UI stateusers.js- the local users databasechatService.js- handles thexmpp.jsinitialization and events
© 2026 Coherent Labs. All rights reserved.